


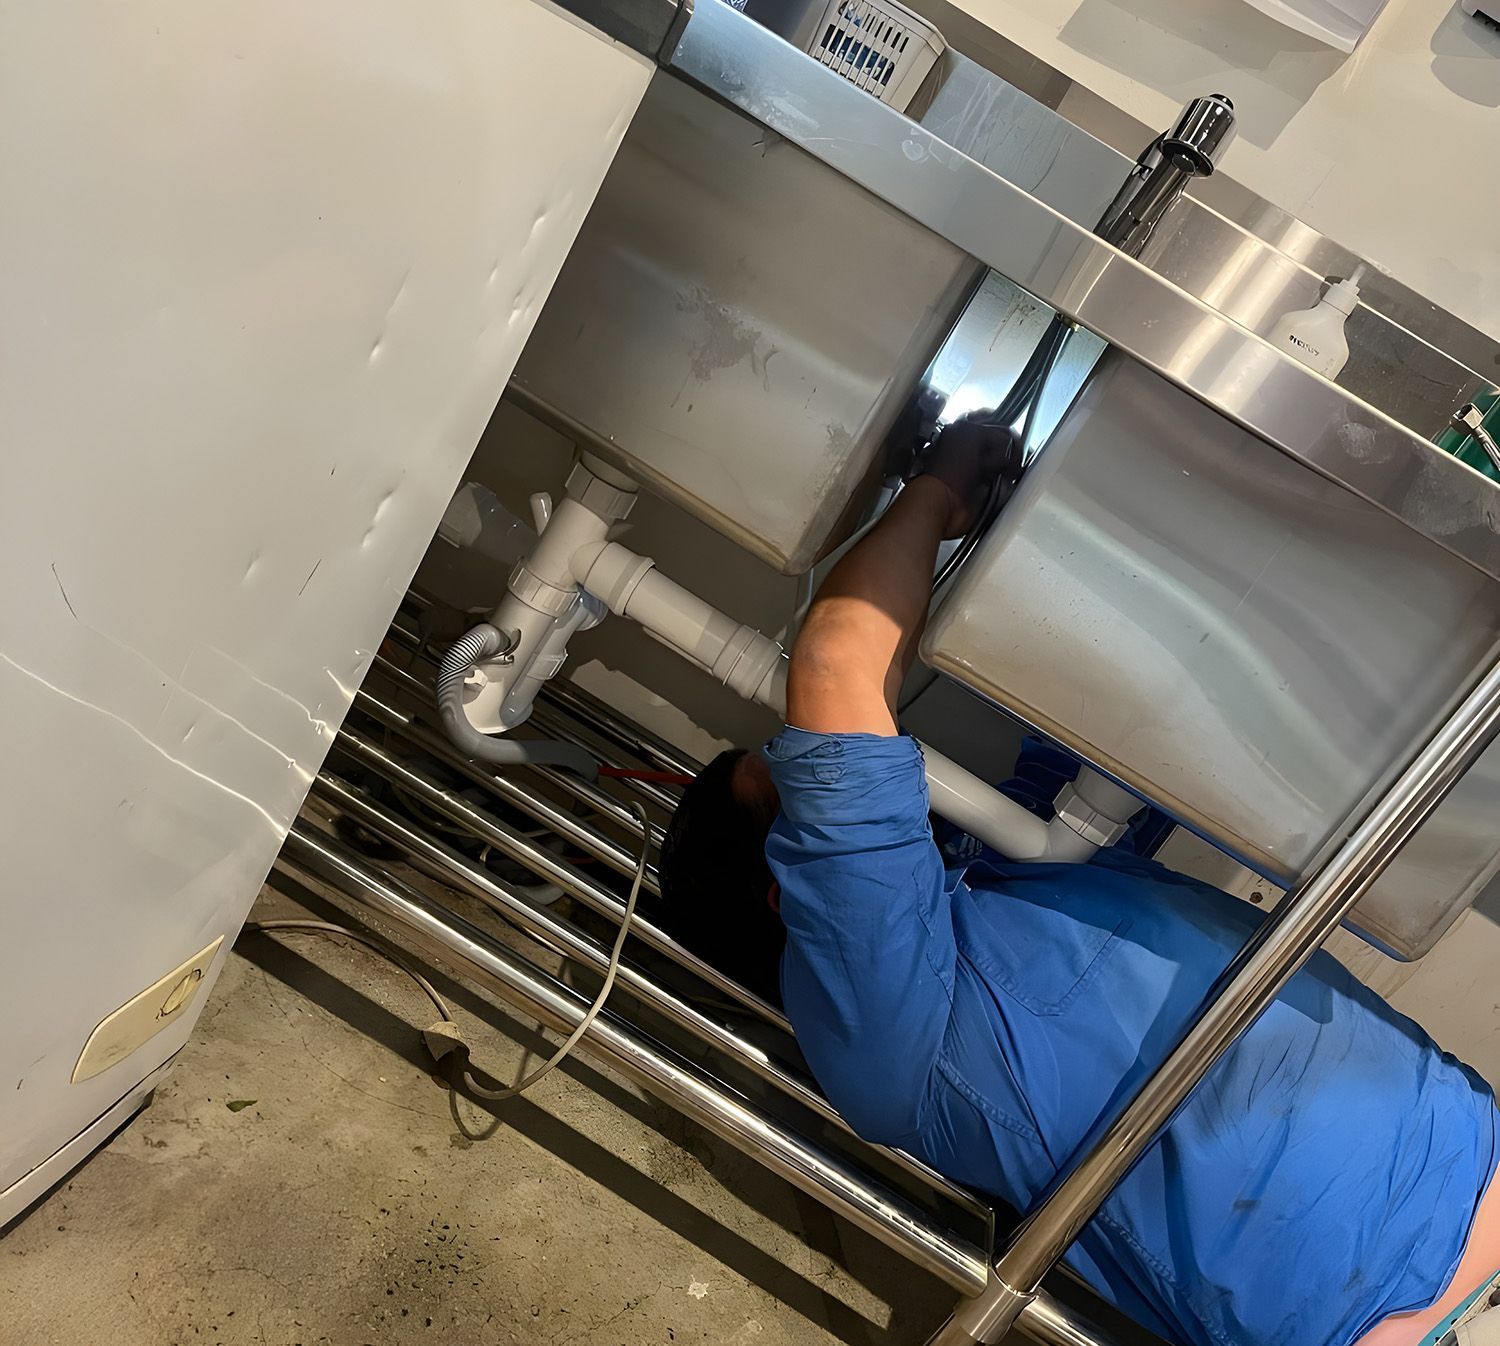
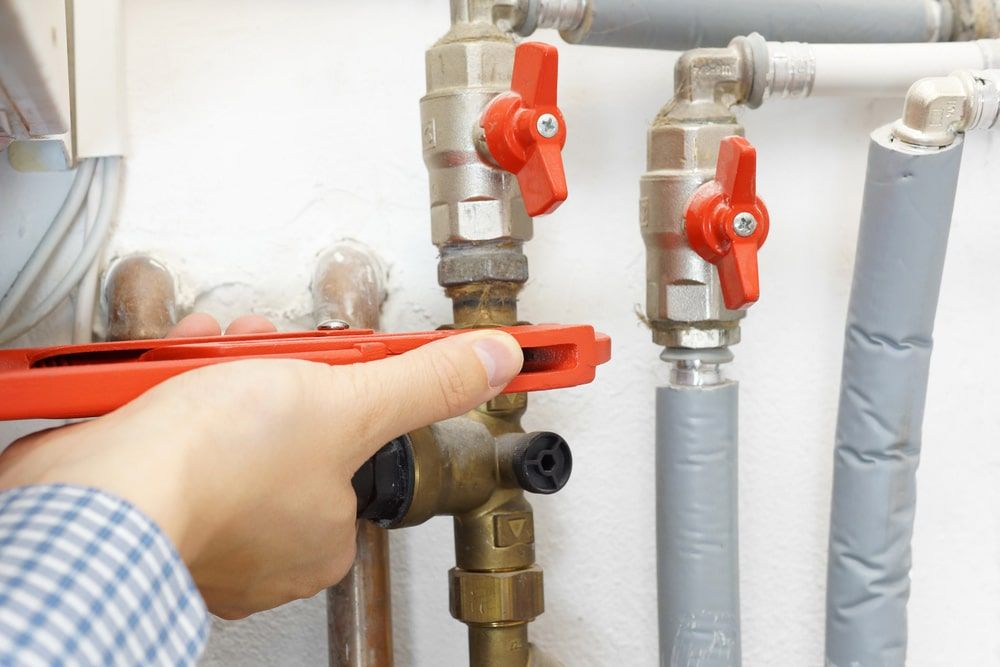
Discover how plumbers in Bathurst fix common issues like leaks, blocked drains and low pressure with safe, efficient and compliant solutions.

Planning bathroom renovations in Bathurst? Discover 2026 cost factors, budgeting tips and what to expect. Read the guide and plan your project today.
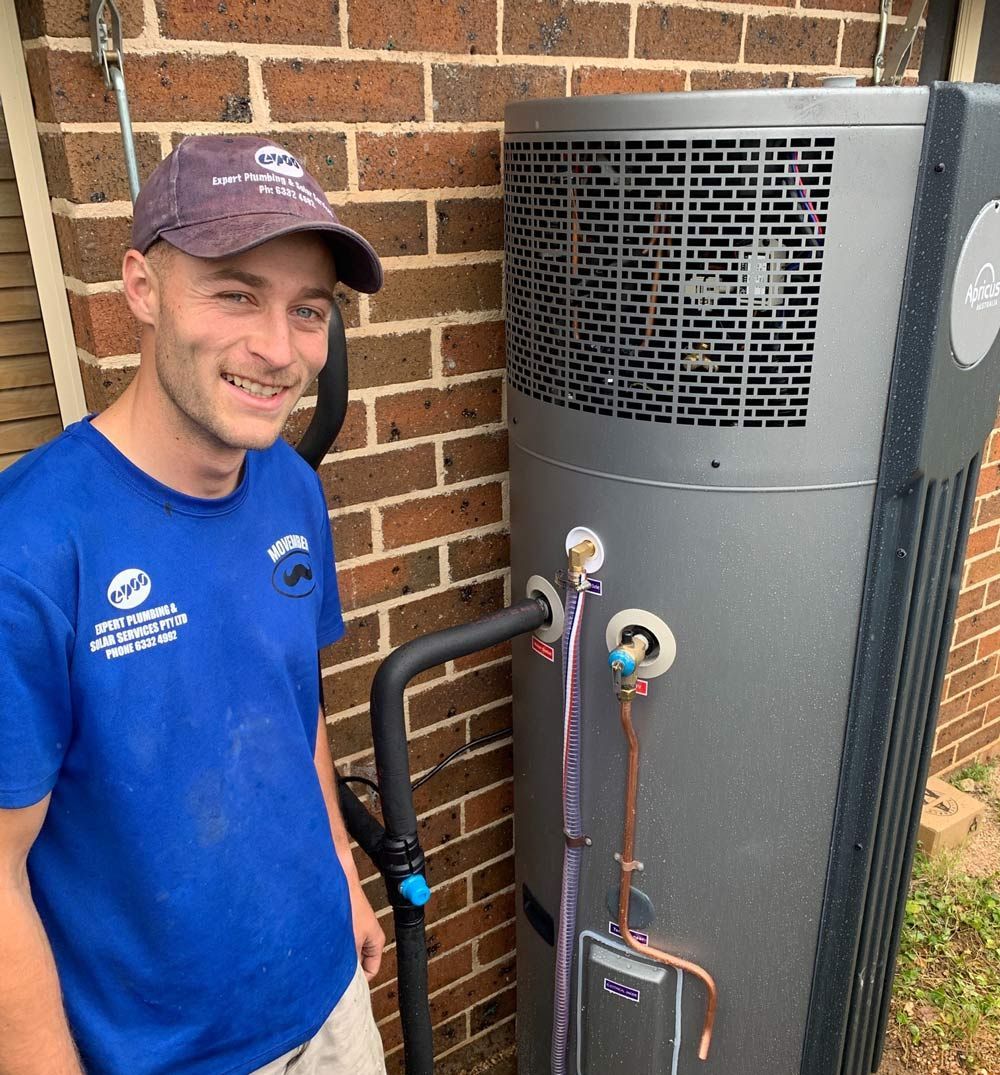
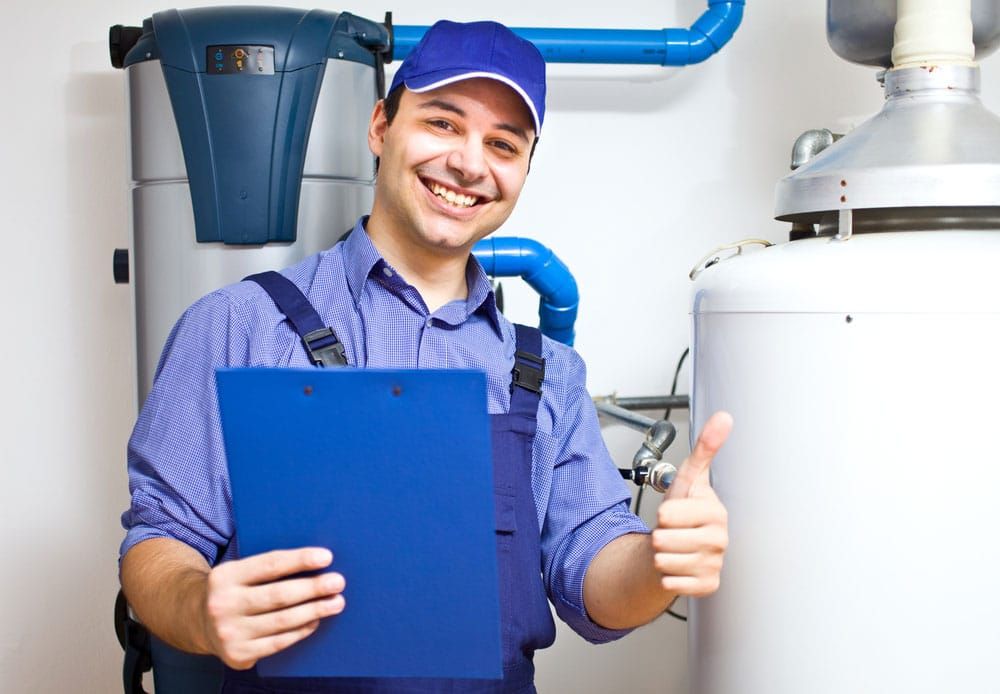
Discover the hidden benefits of hot water systems in Bathurst, reduce energy bills and improve efficiency. Learn more today.
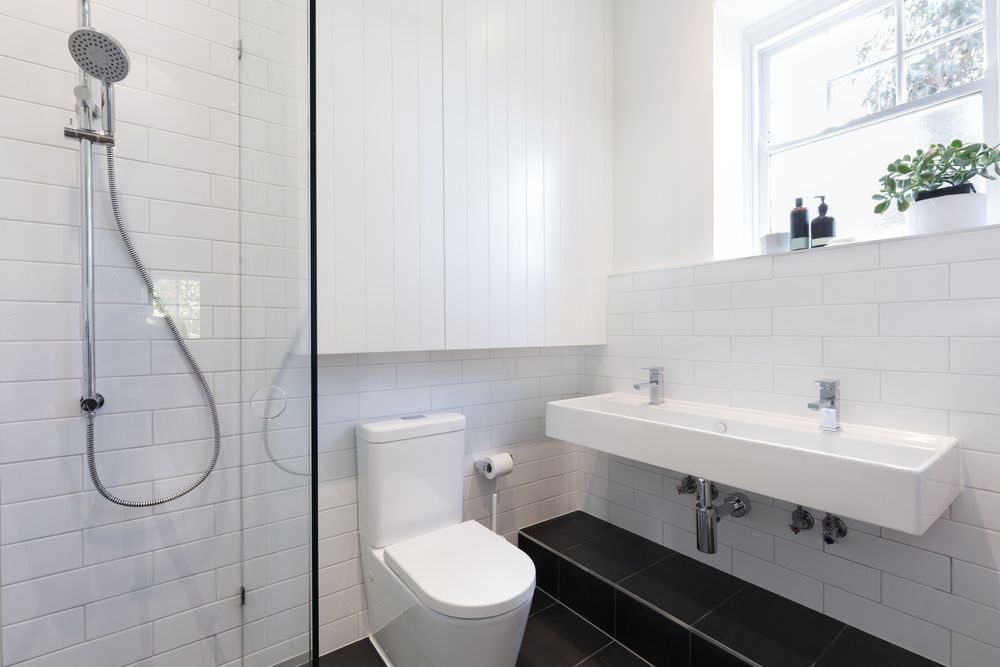
Discover smart bathroom renovation ideas to refresh your space on a budget with practical tips and design inspiration. Read more today.
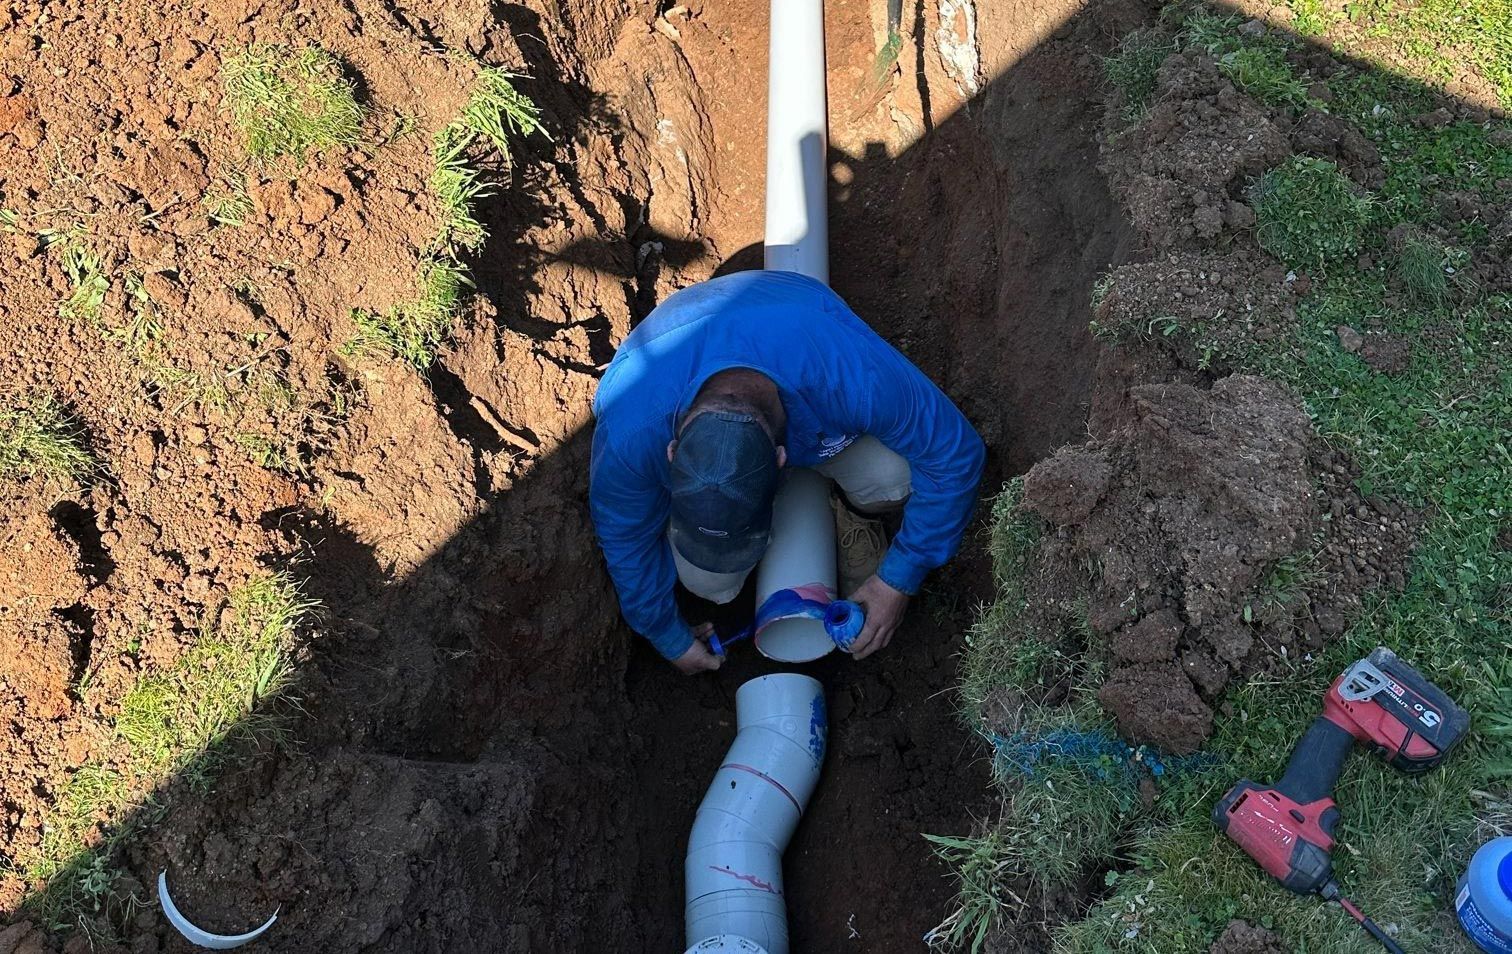
Upgrade your pipework for safer and smoother bathroom renovations in Bathurst—read the blog to learn why this step matters for long-term reliability.

Transform your space with expert bathroom renovations in Bathurst. Hire a bathroom renovation specialist today for lasting style and function.
Learn expert tips on choosing an efficient hot water system to suit your home needs. Read now or contact us for hot water system services in Bathurst.
Spot plumbing trouble early! Learn 5 signs you need an emergency plumber in Bathurst. Act fast and protect your home. Learn more!
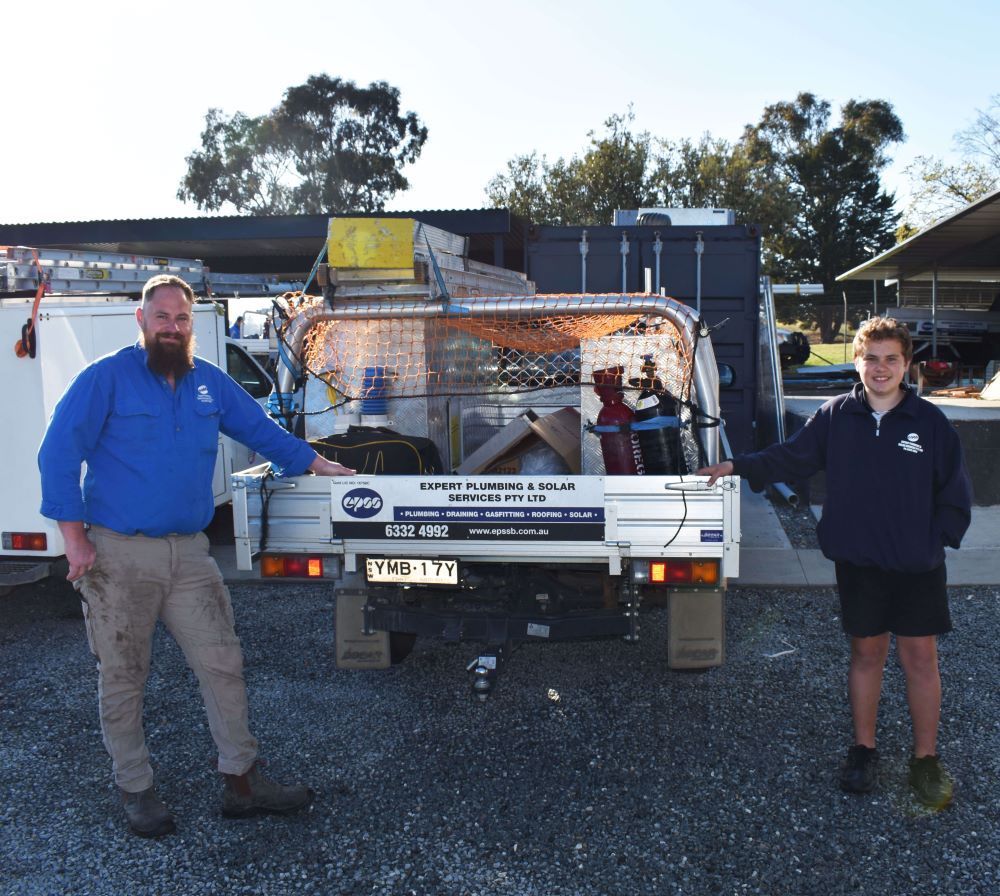
Find a trusted plumber in Bathurst with our expert tips. Avoid costly mistakes—read the guide now and make the right choice fast. Learn more!
